I've always been a pretty big component of "Why go spend a lot of money, when I can make it at home?". Especially when we're trying to save a bit of money for a vacation, or other big ticket items I would much rather go ahead and make the exact same dinner we'd have out just right at home.
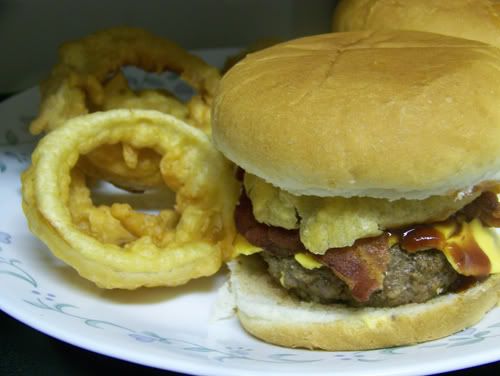
One of my favorite meals out are hamburgers. I know, I'm one of those girls with simple tastes but it's true. And a good western burger makes me super happy! That's a burger with BBQ Sauce, bacon, cheese and a big old onion ring on top!
The same burger also goes for over 10 bucks if you get it with onion rings at any of the restaurants around here. Why do that when I can make two of them per person plus onion rings for around 10 bucks total?!
So if you're craving a good restaurant burger at half the price... well...
Let's get started shall we?
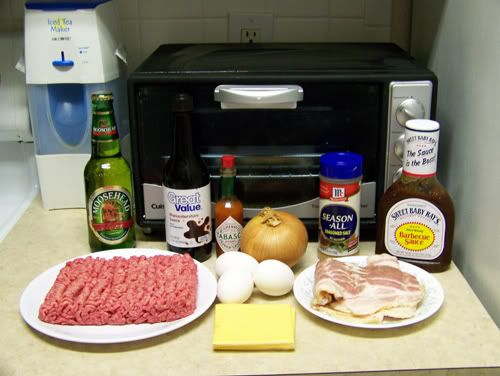
But as weird as it may be, we're going to start out with a marinade for our meat!
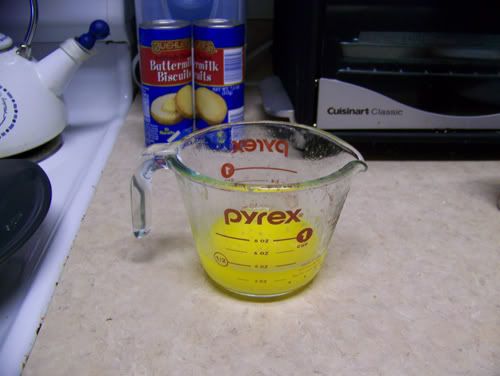
This starts with 1/2 cup of your favorite beer...
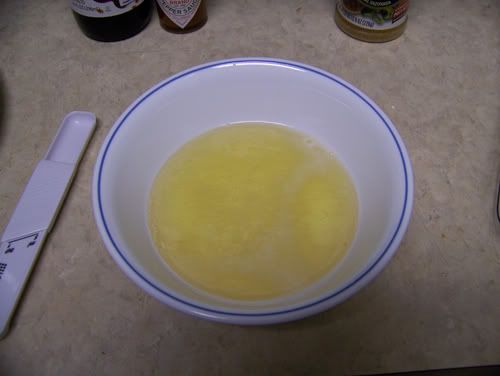
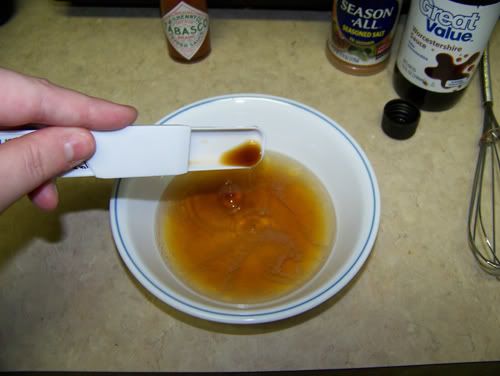

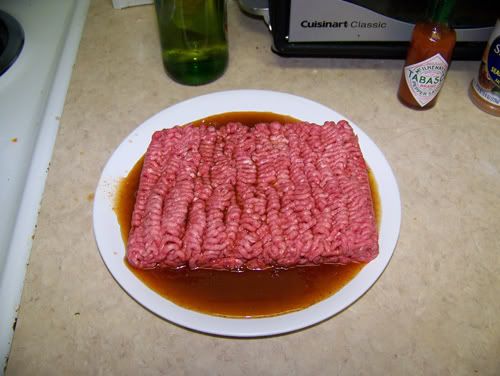
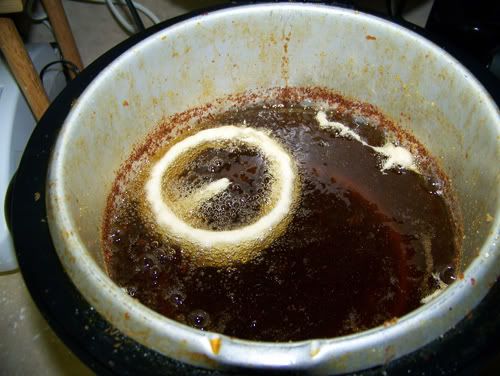
I know it looks weird... very red. But trust me, it makes the burgers this nice juicy full flavor. Really gives an extra kick to a burger that you didn't know you needed!
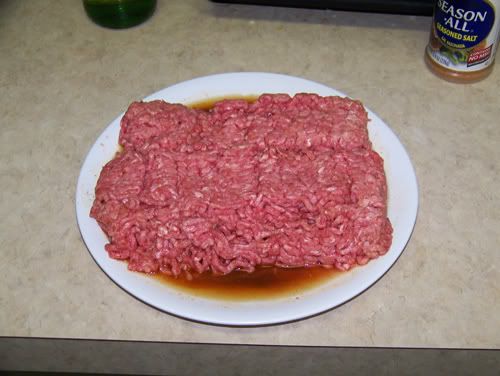
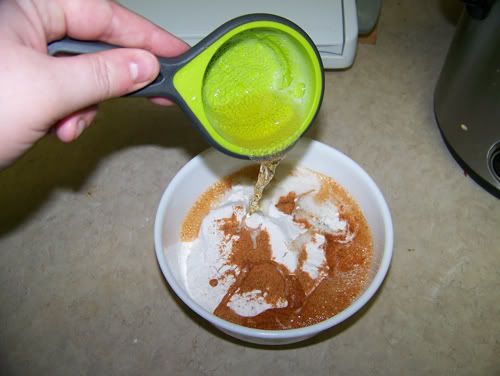
Now just slowly pour the marinade over the meat...
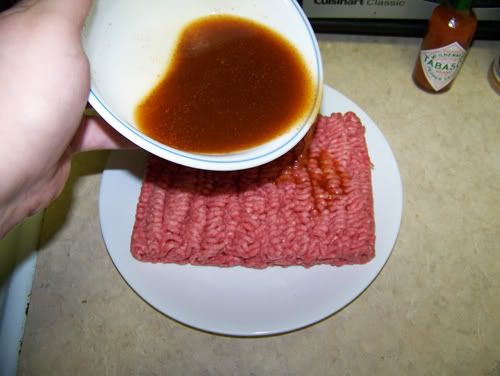
And let it start to soak in. About halfway through you're going to flip the meat and it's going to soak that marinade up like a strange sponge.
But that's what we want!

Or a whole pound, depending on how much bacon you want on your burger. Let it drain. And then set it aside.

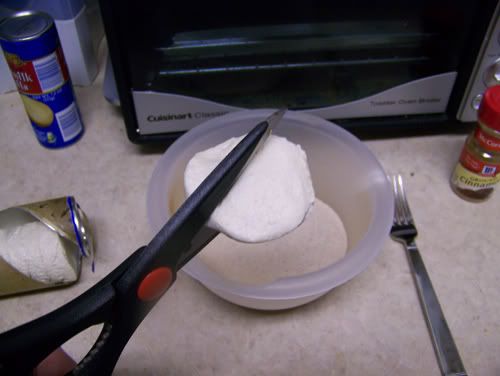
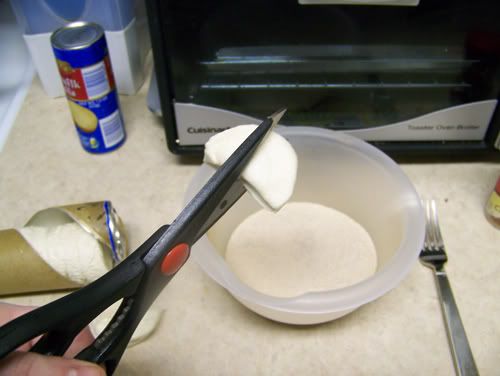
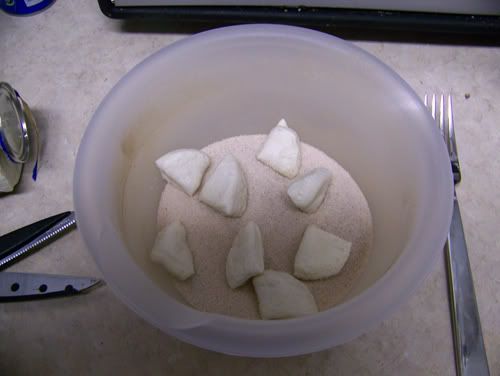
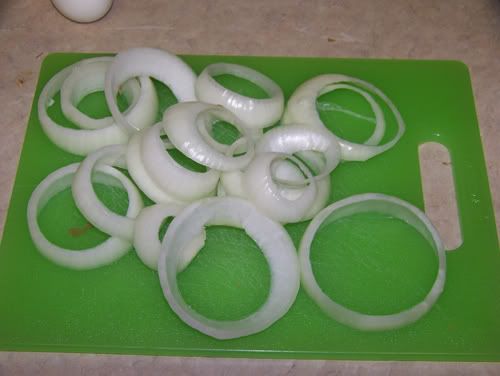
Go ahead and cut an onion or two into fairly large rings. You don't want them too small, or the batter won't stick well to the ring.

Carefully! The less that break the better!
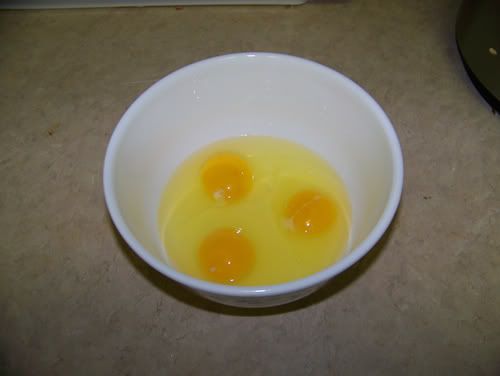
You're going to want to put 3 eggs...
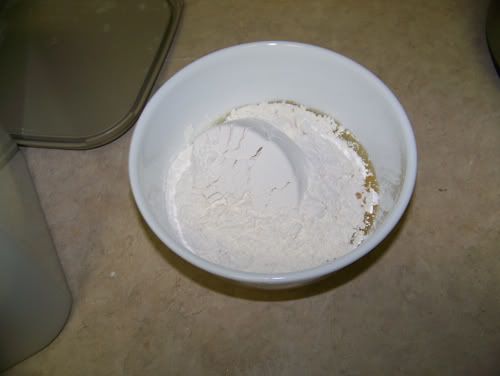
It is going to be lumpy! But that's okay...

Yes. We are trying to get the onion rings drunk.
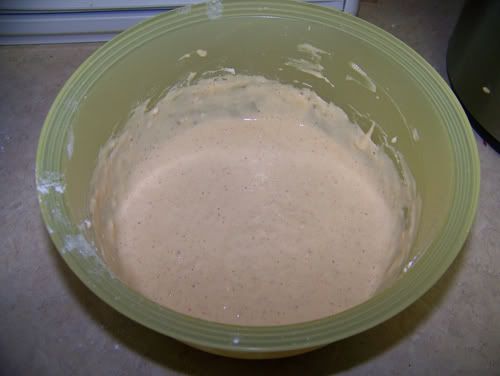
Stir until well combined. It's going to be slightly runny.
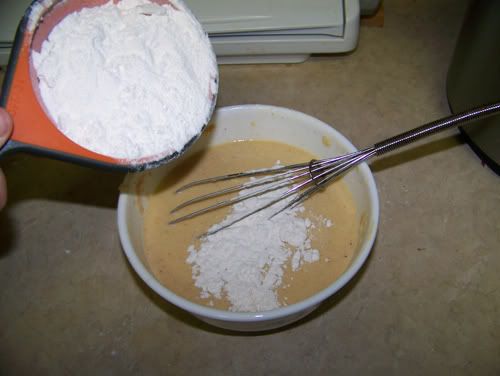
Then go ahead and gradually stir in another cup of flour.
I mean gradually too. Otherwise that flour is going to go everywhere and you're going to realize your bowl isn't big enough and you need to switch to another bowl...
So don't be like me!
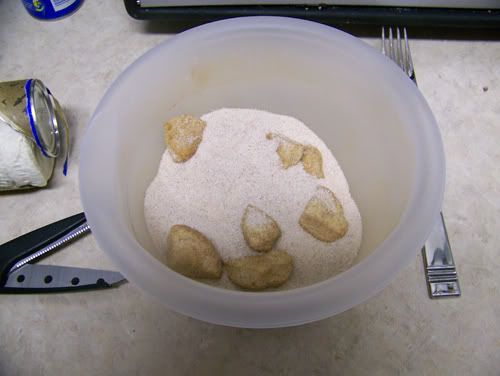
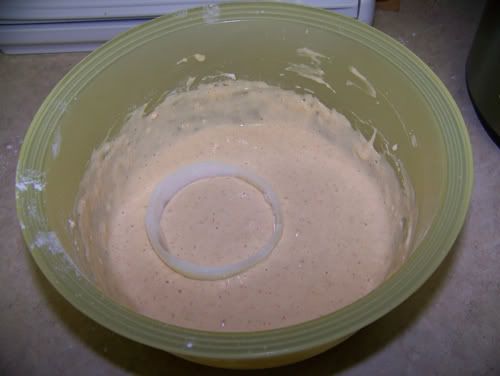
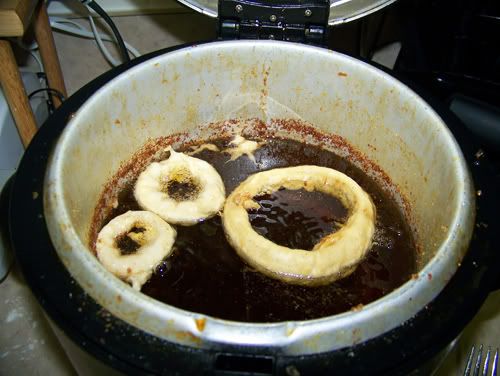
Anyway... go ahead and dunk your onion rings into this batter, making sure to cover them completely.
If you don't have a deep fryer a stock pot with vegetable oil will also work for this, just on your burner.
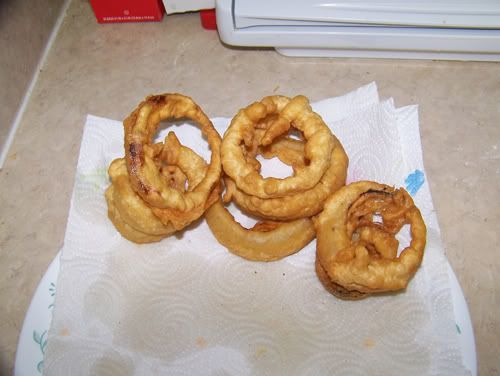
About 2 to 3 minutes later, go ahead and flip the onion ring so that the other side will cook.
Then remove! Paper towels would be good, let them drain a bit.
Then go ahead and set these aside, or while you are cooking them, make your meat into the desired size patties you would like.
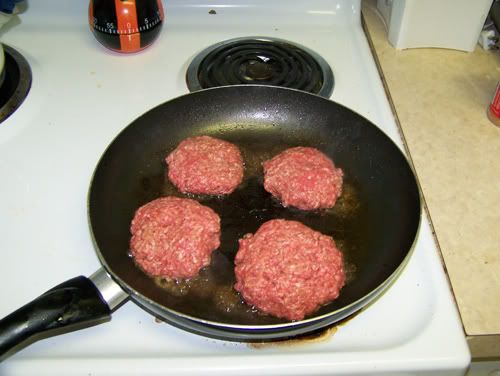
Then heat up the same pan you made your bacon in, draining out some of the bacon fat first.

Then once that pan is heated put your burger patties in!
Then go ahead and flip.


Then go ahead and flip.
And don't think you have to pan fry these. You can do them however you generally do burgers. We just aren't allowed to have a grill here on our patio since we currently live in an apartment.
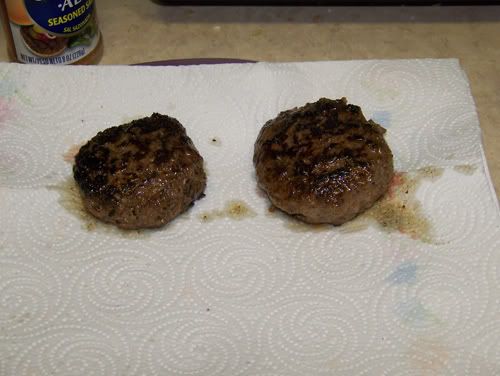
Then I go ahead and let my burgers rest a bit, so that it doesn't lose the juices!
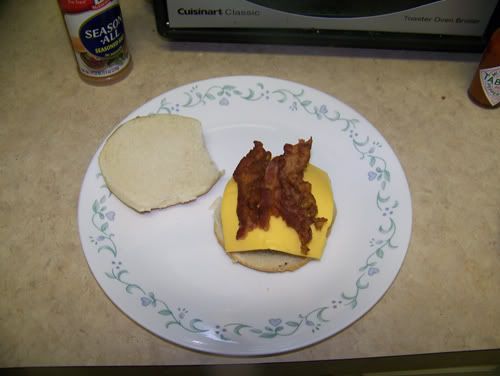
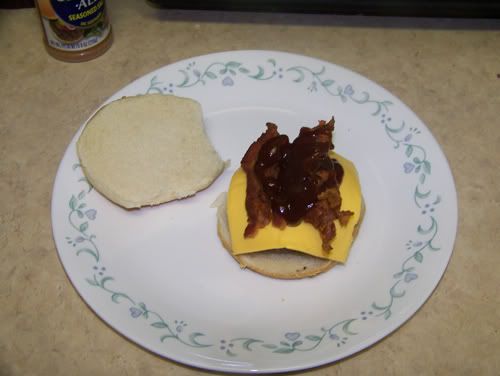
And place your burger patty on, and your desired cheese. I'm using American here, but Cheddar, or even Pepper Jack would work!
Then place on your bacon...
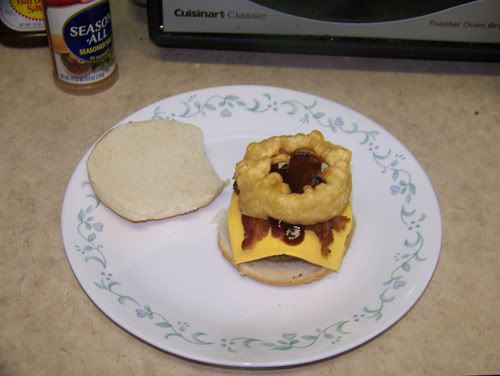
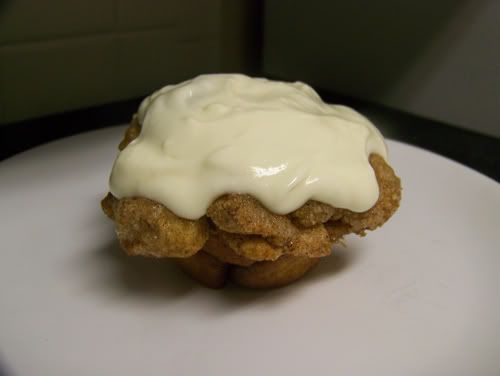
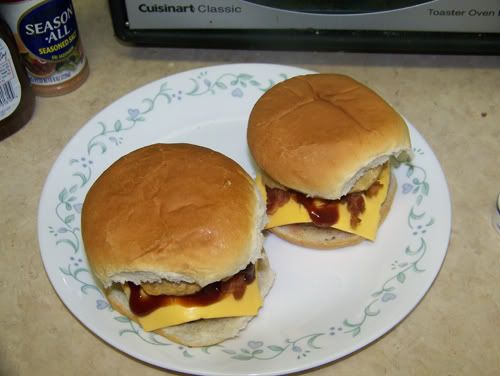
A restaurant quality burger at half the price. And trust me... you'll be doing this quite often once you figure out the formula!
Don't be afraid to experiment! And hey, if you do... I'd love to hear about it!!
Western Burger Marinade
1/2 cup your favorite beer
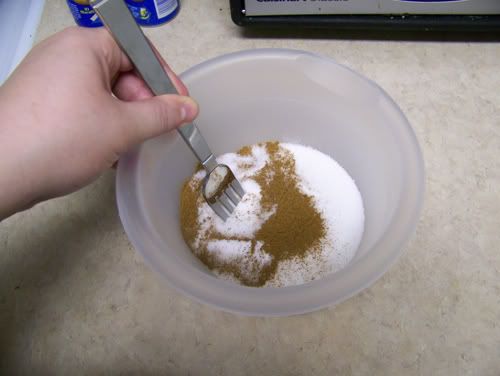
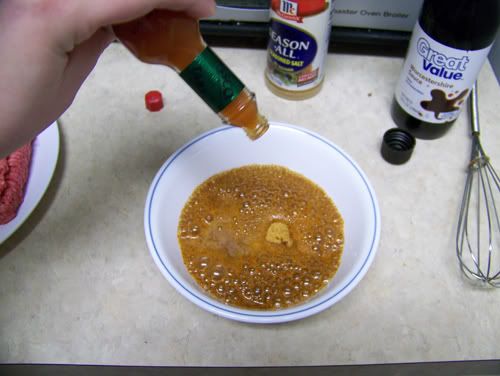
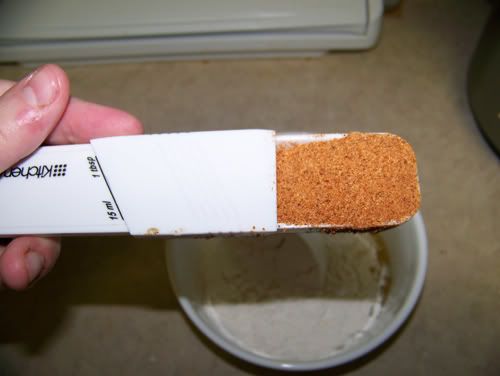
1 Tablespoon Seasoning Salt
3 teaspoons Worcestershire Sauce
3 to 4 dashes of Tabasco Sauce
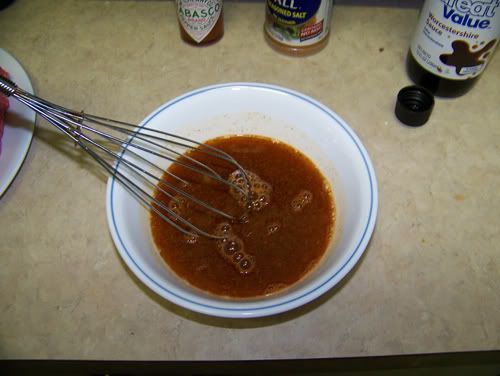
Mix together ingredients with a wire whisk until well combined. Pour over meat, and allow to soak in, turning meat over halfway through. Form into patties and cook.
Beer Battered Onion Rings
2 Cups of Flour (Separated)
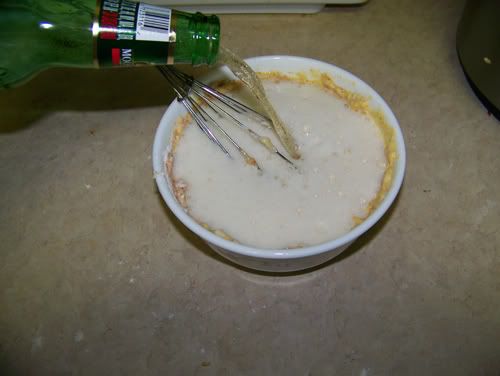
1 Bottle of Favorite Beer
1 Tablespoon Seasoning Salt
3 Eggs
1 to 2 Large Onions
Mix together 3 Eggs, 1 Cup of Flour, 1/3 Cup of Beer and Seasoning Salt. Mix together until well combined, then add remainder of beer. Mix together until smooth, then mixing in the second cup of flour gradually until smooth. Set aside.
Cut onions and separate into large rings. Dip into the wet batter, making sure the ring is completely covered. Dip into 375 degree oil, cooking for 4 to 5 minutes, flipping halfway through. Remove and drain on paper towels. Serve hot.